¶ Celestial Thruster Speaker

¶ Overview
These custom designed speaker enclosures merge modern aesthetics with acoustic performance. The enclosures are printed in Polymaker Carbon Black PLA, featuring bold yellow accent strips that complement the geometric angular housing. Each enclosure measures 147x150x230mm, making them an ideal size for desktop placement while providing sufficient internal volume for optimal speaker performance.
The internal design is particularly clever - incorporating angled support vanes that allow the entire enclosure to be 3D printed without requiring support material, significantly improving print quality and reducing waste. The enclosure’s acoustic properties are enhanced through careful internal treatment: approximately 9mm thick EVA foam lining dampens cabinet resonances, while loosely arranged polyfill helps improve bass response and reduce high-frequency reflections. The polyfill is strategically placed to avoid obstructing the bass reflex port, ensuring proper port tuning and performance.
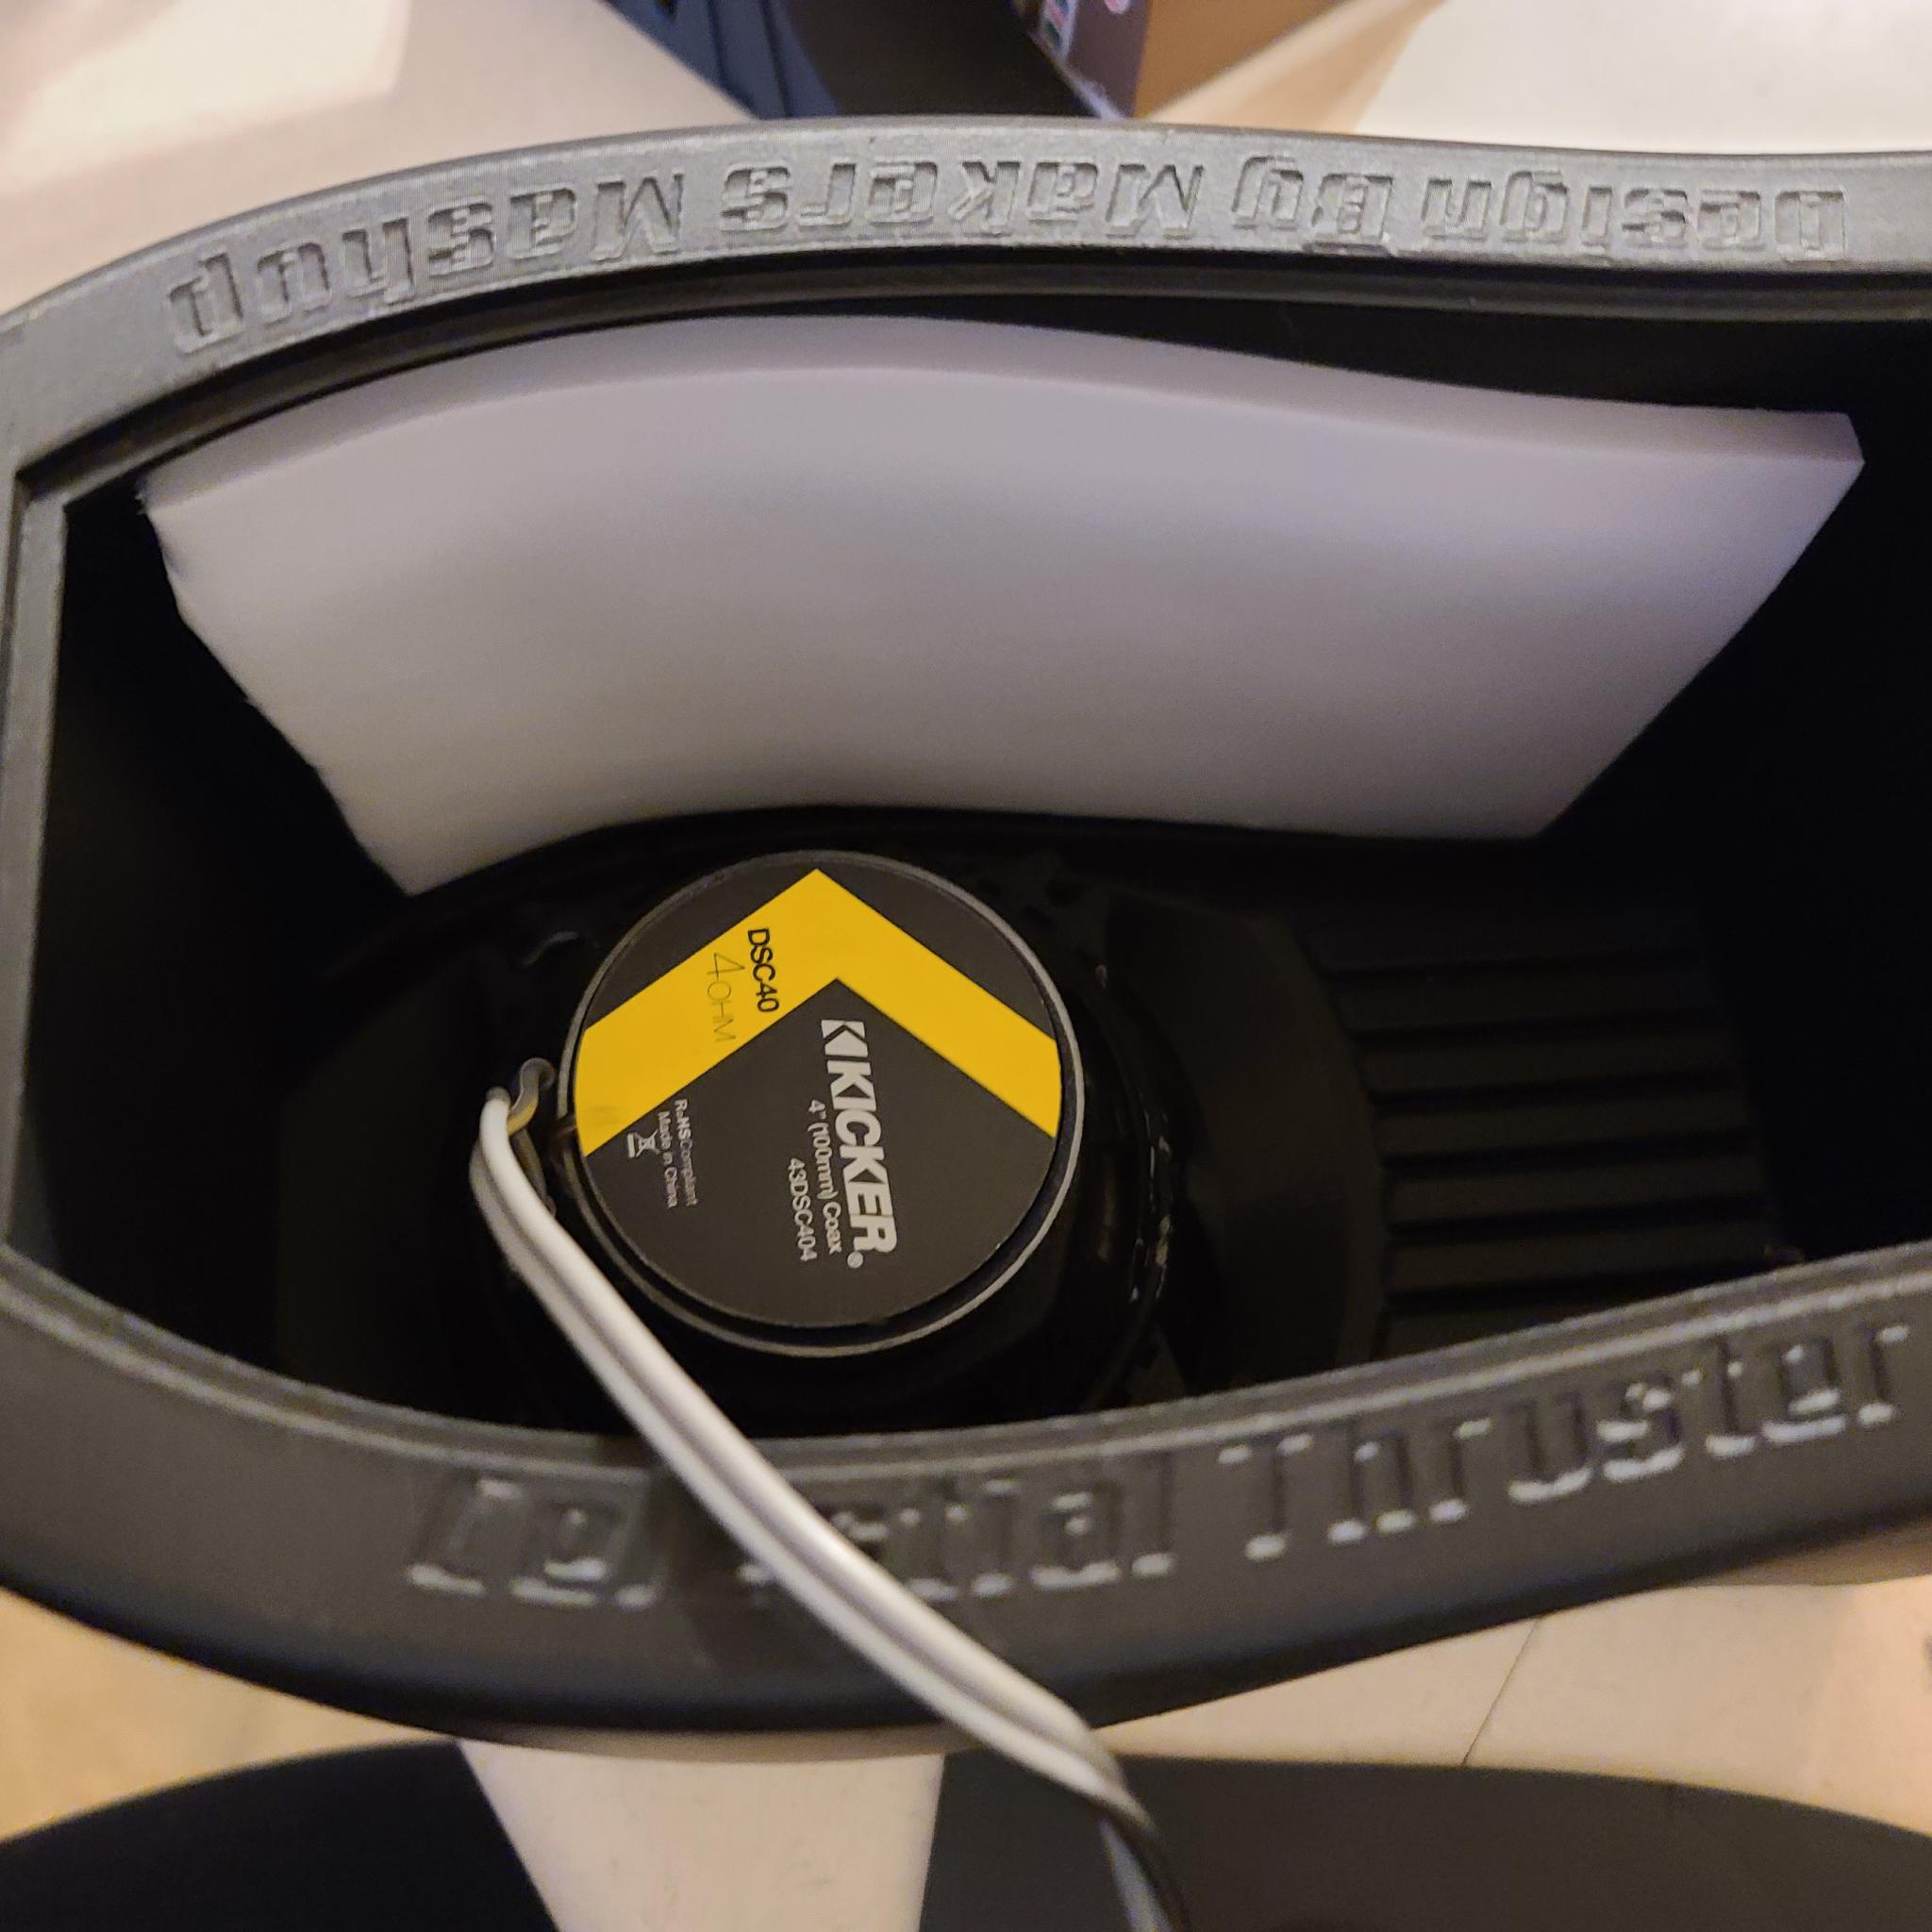
The design incorporates a Kicker DS 4" coaxial speaker (Model 43DSC404) in each enclosure, positioned within an optimized internal chamber that includes a rear bass reflex port for enhanced low-frequency response. The asymmetrical design of the enclosure isn’t just for looks - it helps reduce internal standing waves while maintaining proper internal volume for the 4" drivers. The dramatic sweep of the side panels and vertical accent strips create a unique visual signature that sets these speakers apart from conventional box designs.
¶ Technical Specifications
- Driver: Kicker DS 4" Coaxial (Model 43DSC404)
- Impedance: 4 Ohms
- Peak Power Handling: 120W
- Sensitivity: 88 dB
- Frequency Response: 60-20,000 Hz
- Enclosure Dimensions: 147x150x230mm
- Material: Polymaker Carbon Black PLA
¶ Amplifier Pairing
The 4-ohm impedance and efficient design make these speakers particularly well-suited for the FOSI BT20A amplifier. This combination provides excellent desktop audio performance with the convenience of Bluetooth connectivity. The speakers’ sensitivity rating of 88 dB means they can achieve satisfying volume levels with modest amplifier power.
¶ Applications
Ideal for:
- Desktop computer audio
- Near-field music listening
- Small room audio systems
- Gaming setups requiring precise audio positioning
¶ Bill of Materials
¶ Required Components
| Component | Specifications | Quantity | Notes |
|---|---|---|---|
| Kicker DS Series Speakers | Model: 43DSC404, 4" Coaxial, 4 Ohm | 2 | Main drivers |
| Speaker Push Terminals | Spring-loaded binding posts | 2 pairs | For speaker connections |
| Fosi Audio BT20A | Class-D Amplifier with Bluetooth | 1 | Recommended amplifier |
| Rubber Feet | Self-adhesive | 8 | Provides stability and isolation |
| Speaker Wire Of Choice | 16awg | N/A | Speaker connections and internal connections |
¶ Materials
| Material | Specifications | Quantity | Notes |
|---|---|---|---|
| PLA Filament | Polymaker Carbon Black | ~500g | Main enclosure |
| EVA Foam | 9mm thick | As needed | Internal dampening |
| Polyfill | Standard polyester fill | As needed | Acoustic treatment |
| Hot Glue | Black preferred | 1 pack | For securing speakers |
| Super Glue | CYAFIXED Thick | 1 bottle | For assembly |
¶ Tools Required
- Hot glue gun
- Soldering iron and solder
-
- OR -
- 16awg spade connectors and crimper (recommended)
- Wire strippers
- Basic hand tools (screwdrivers, pliers)
¶ Optional but Recommended
- Red Female Spade Connector 22-16 AWG
¶ Printing Requirements
- 3D Printer with minimum 230mm Z height
- Build plate at least 150x150mm
- 0.4mm nozzle recommended
- Layer height: 0.2mm standard
¶ Assembly Instructions
The assembly process begins with 3D printing the main components. The enclosure is designed to print without supports, which ensures a clean finish and reduces post-processing time. Orient it standing up as you would normally see it. While some internal fraying may occur during printing, this can be easily addressed with either a quick pass of a heat gun or light cleanup with flush cutters. Print both the main enclosure and the embellishments (including the speaker concealing ring) in your chosen color (Black is recommended). The back plate requires supports for the spring terminals. Use a tree support, and clean it up after printing. It adds a negligible amount of time. All other parts print with standard print settings. **Archane engine in Prusa Slicer/Bambu Studio, etc. is recommended for the embelishments to get the finer detail and fit. **
Once your prints are complete, start by attaching the embellishments to the main enclosure. Super glue works best here, but remember that less is more - you only need enough to secure the parts, and excess glue can mar the finish. Keep acetone handy for cleanup, and work in a well-ventilated area. Consider using rubber gloves to avoid any unwanted finger adhesion. Metal Rulers, Razors and flat head screwdrivers help here. The Metal ruler works best.
Next, prepare the back plate by installing the speaker spring terminals. Take time to test fit the wiring before permanent mounting, as this will save potential headaches later. Proper alignment here is crucial for the final assembly.
The speaker mounting process requires careful timing and preparation. Begin by holding the enclosure face-up and have your hot glue gun ready. Apply a continuous bead of hot glue around the speaker mounting area, then quickly insert the speaker from the bottom. The included concealing ring should be placed immediately while the glue is still setting. This ring not only provides a clean finish but also helps ensure proper speaker positioning. Pro tip: Have all components within arm’s reach before starting this step, as the hot glue sets quickly.
For the internal acoustic treatment, carefully cut the EVA foam to match the internal contours of the enclosure. Hot glue works well for securing the foam, but take care to maintain even coverage along the sides and bottom. The foam should follow the speaker form closely while maintaining consistent contact with the enclosure walls. This step is crucial for proper acoustic performance.
Wire management comes next. The Kicker speakers include wires, which can be fitted with spade connectors for easy connection to the spring terminals. Take care to maintain proper polarity and ensure all connections are secure.
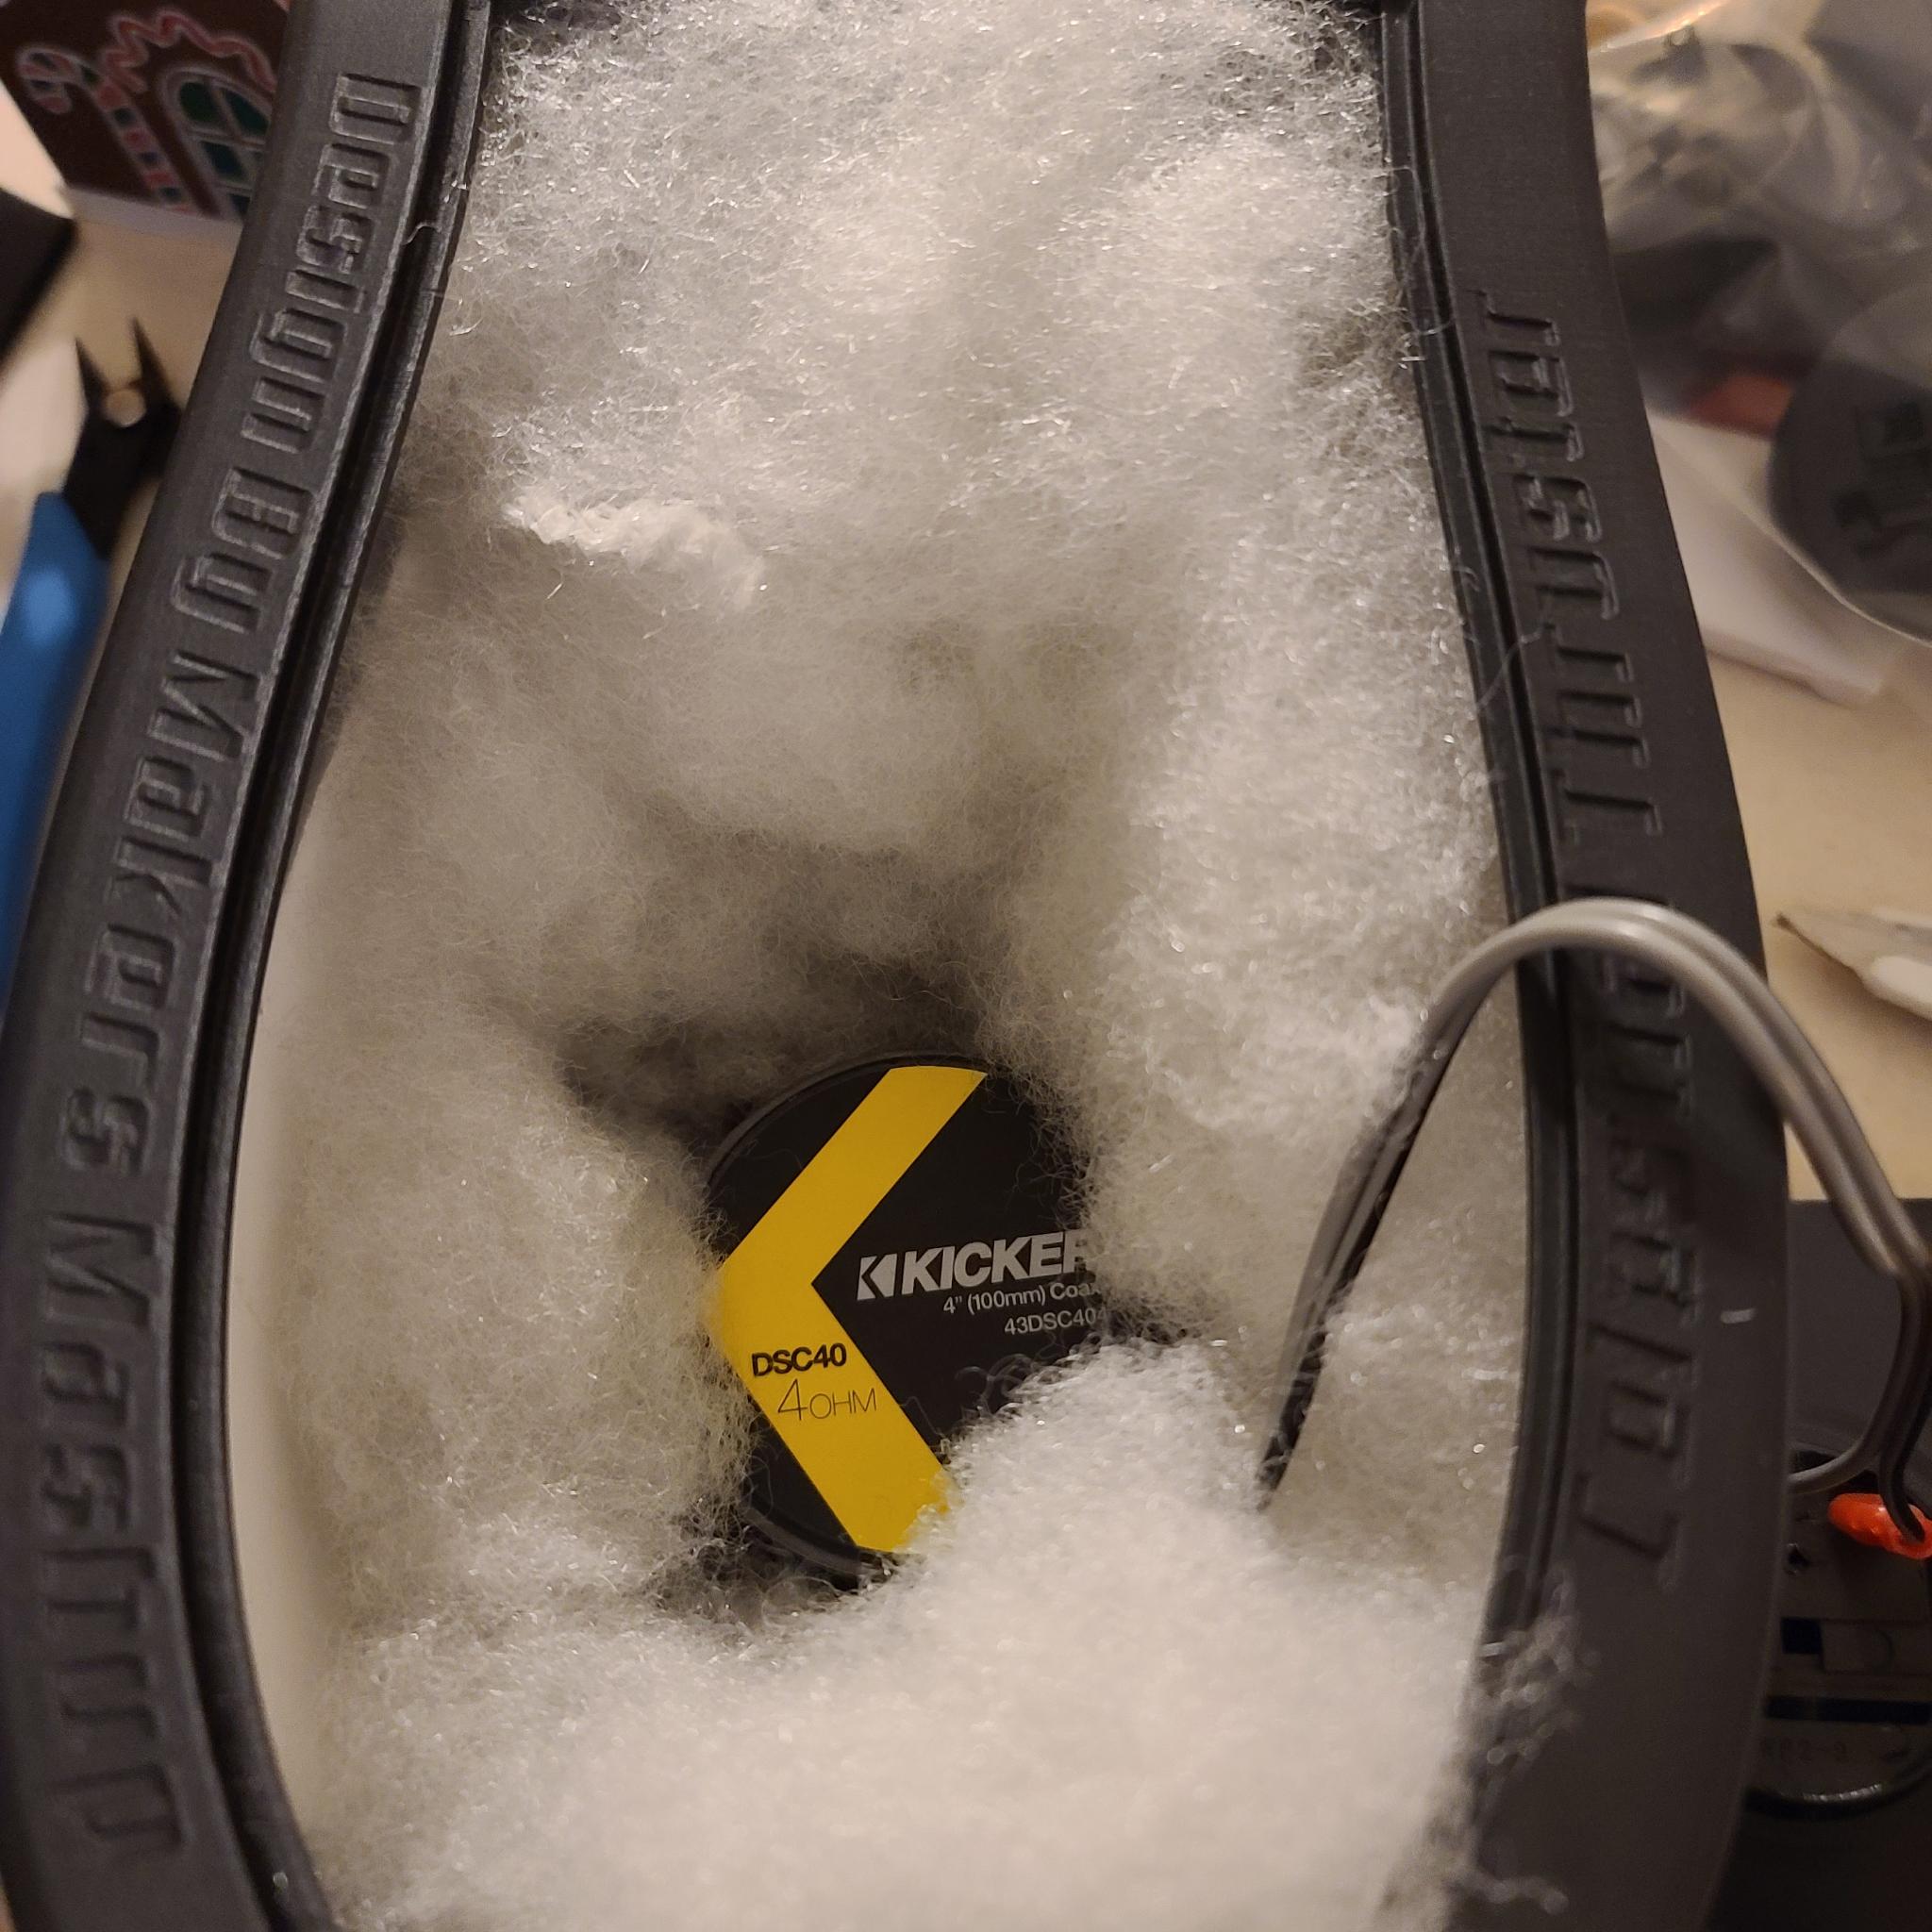
Polyfill installation is more art than science. With the speaker facing down, add the polyfill loosely - emphasis on loosely. The material should fill the space without being compressed, as over-packing can actually reduce its effectiveness. Maintain a clear area around the bass reflex port to ensure proper operation. The polyfill helps with bass response and reduces unwanted resonances, but too much can restrict airflow and impact performance.
The bass port length is critical for proper tuning. You may need to trim it to match your specific speaker depth. Use flush cutters and work gradually, removing material at the layer lines. Test fit between cuts - you can always remove more material, but adding it back requres reprinting the part.
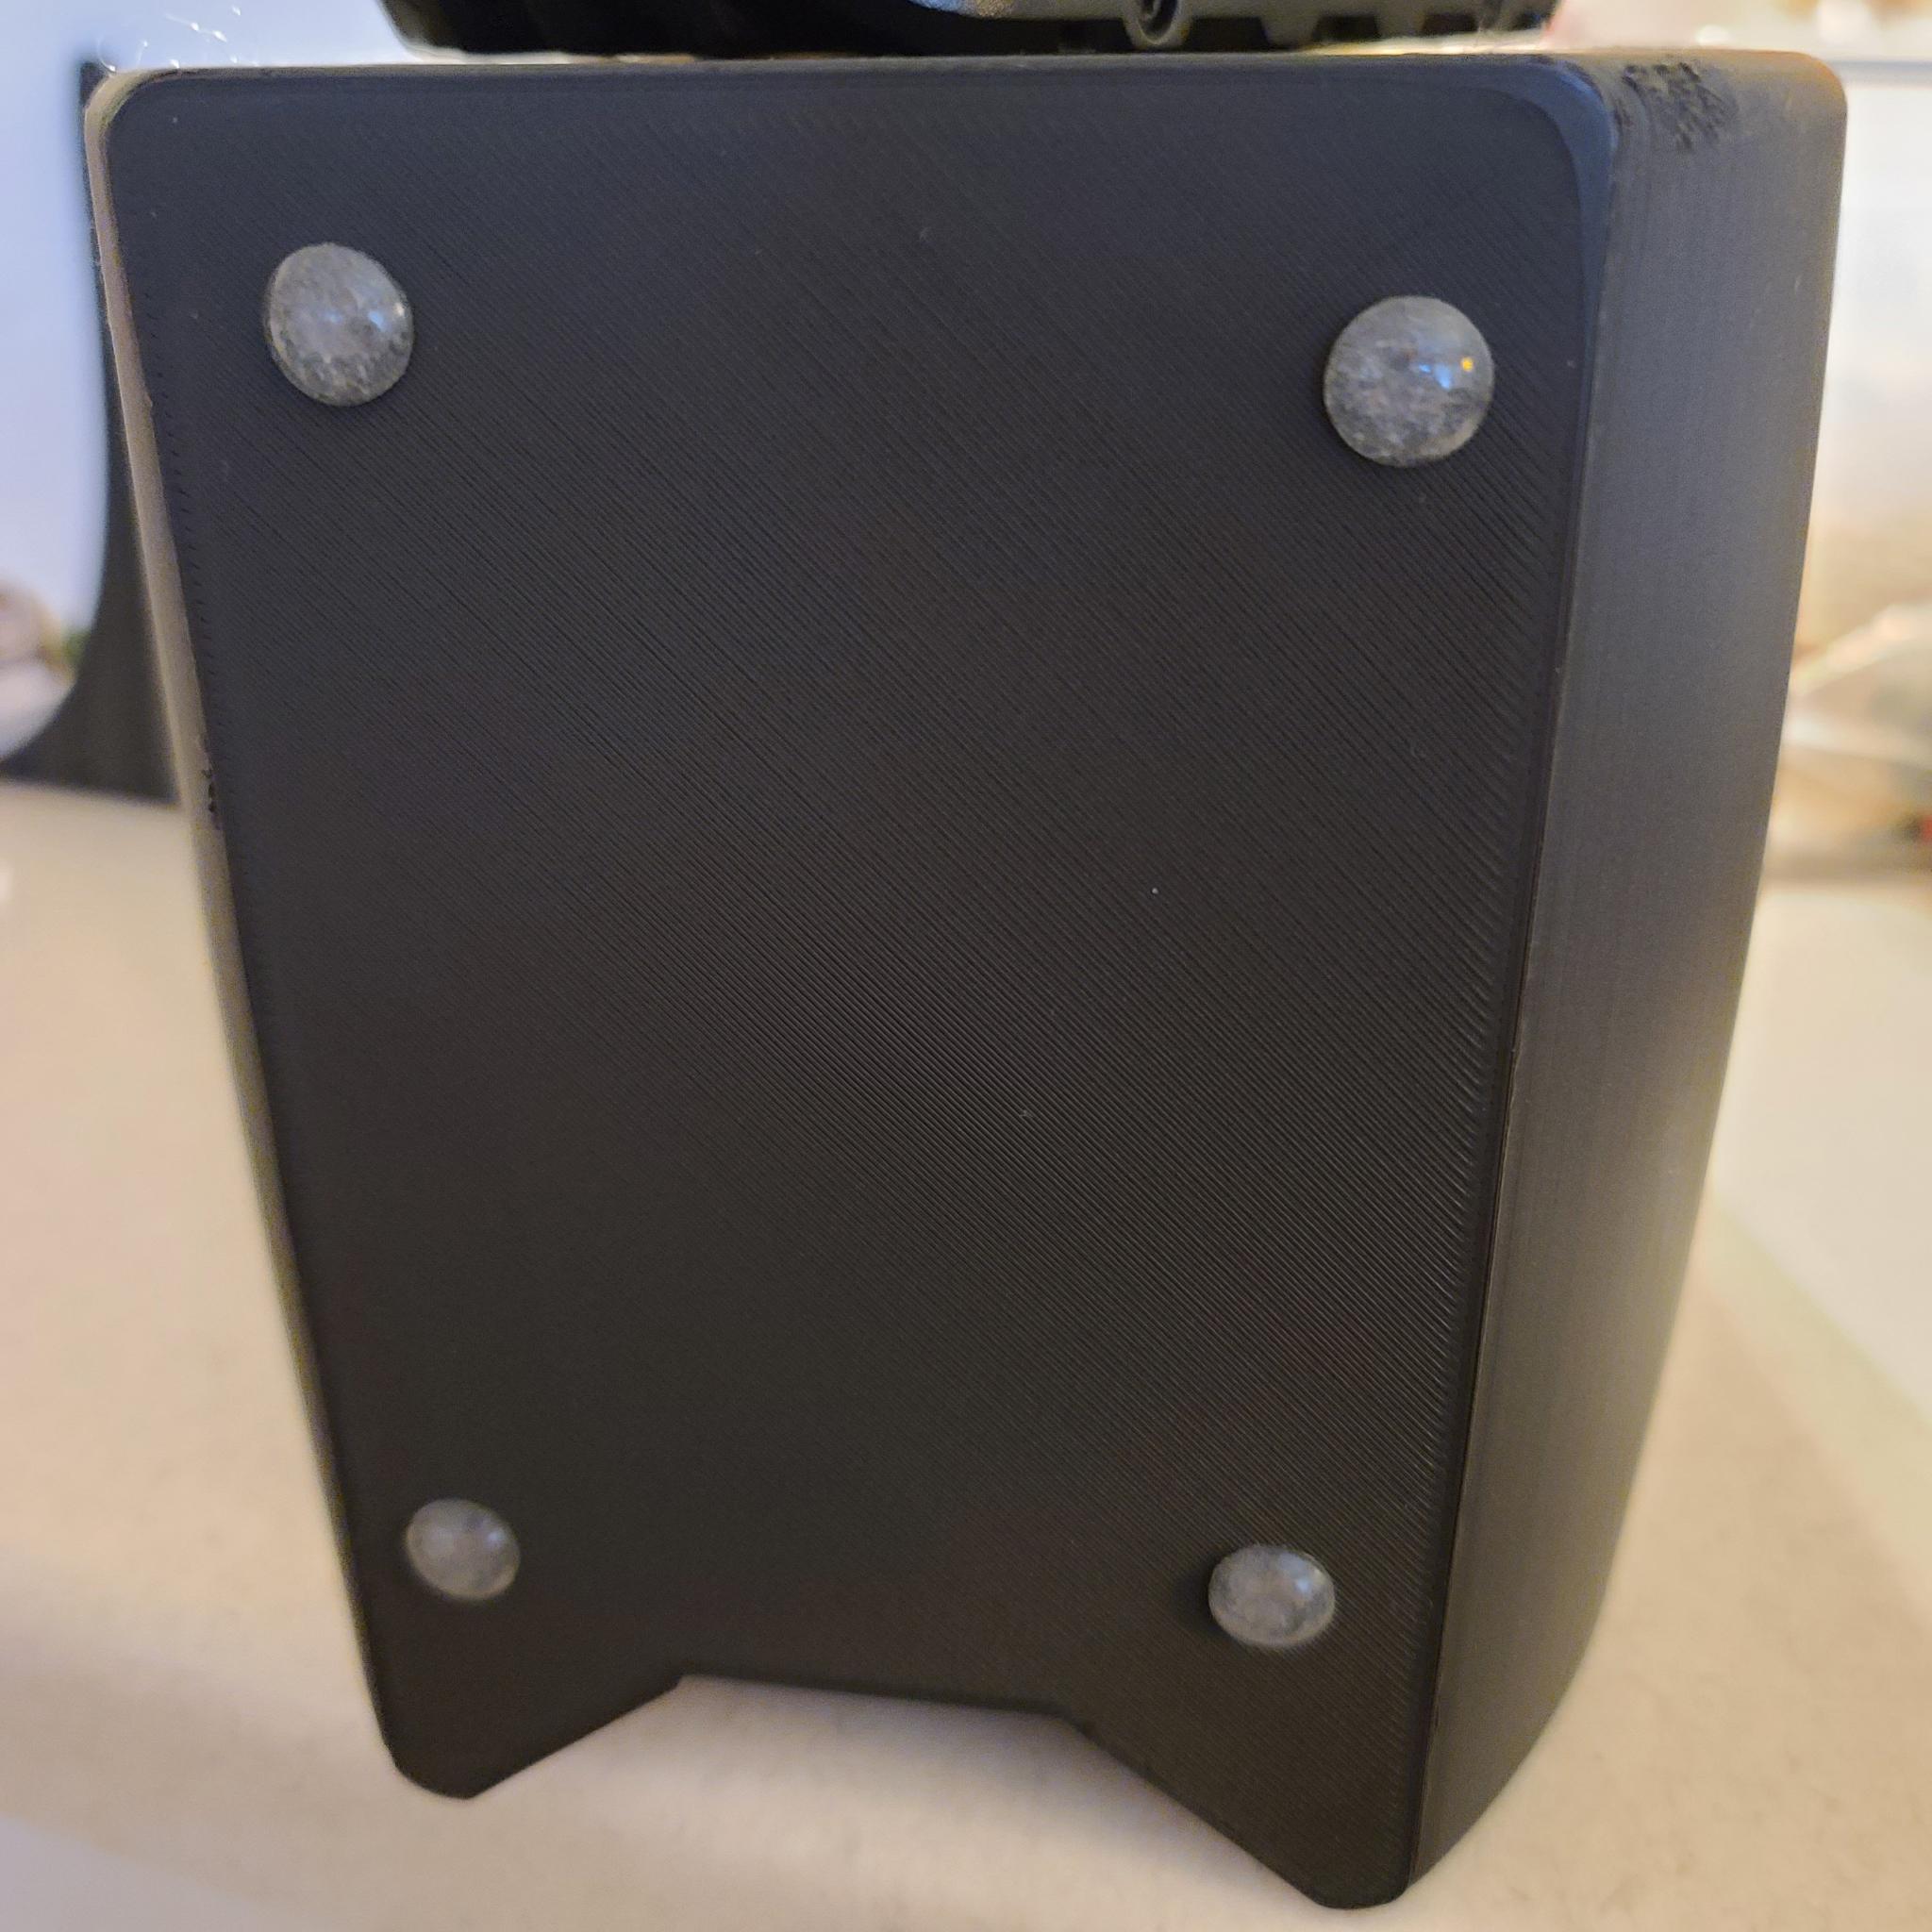
Finally, attach the self-adhesive rubber feet to the bottom of each speaker enclosure. Place them near the corners for maximum stability - one pair toward the front and one pair toward the back. These feet serve a dual purpose: they prevent the speakers from sliding on smooth surfaces and, more importantly, provide acoustic isolation from your desk or shelf. This isolation is crucial as it minimizes unwanted vibrations transferring to the mounting surface, which could otherwise color the sound or create unwanted resonance. The rubber compound in the feet acts as a mechanical low-pass filter, effectively damping these vibrations and ensuring cleaner, more accurate bass response.
Before final assembly, conduct a thorough test. The back plate should fit snugly with pressure alone at this stage. Connect both speakers to your amplifier and test at various volumes, paying attention to any rattles or vibrations that might indicate loose components. Once you’re satisfied with the performance, apply super glue around the back plate perimeter for a permanent seal. Take care to maintain even pressure while the glue sets to ensure a complete seal. I placed a heavy drill with its battery on top for 10 minutes to set up.
Throughout the assembly process, remember that patience is your ally. Each step builds upon the last, and rushing can lead to issues that are difficult to correct once the enclosure is sealed. Take time to verify proper operation before permanent assembly, and don’t hesitate to test fit components multiple times to ensure optimal placement and performance!
I hope you enjoy these as much as I did making and giving them as gifts. They sound great in my opinion rivaling speakers at a considerably higher cost. Plus they are custom and few people will ever own a pair adding to its uniqeness.