¶ Orange PI3 LTS SPI Setup (OPI3 SPI)
This wiki page outlines the setup for Orange PI3 SPI Setup. This configuration is working based on the Armbian Buster (Debian) distribution. If you find this guide works for your OPI3 on another distribution please contact me so I can update the guide with the additional Linux Distros supporting this process. Alternatively if you use it on another distro and have to make subtle changes please send those so I can update this wiki.
¶ Armbian Setup
Once you have the distro loaded onto your OPI3 you’ll need to configure the hardware to enable SPI. Currently the script for Armbian only does part of the job, you’ll need to do the rest manually.
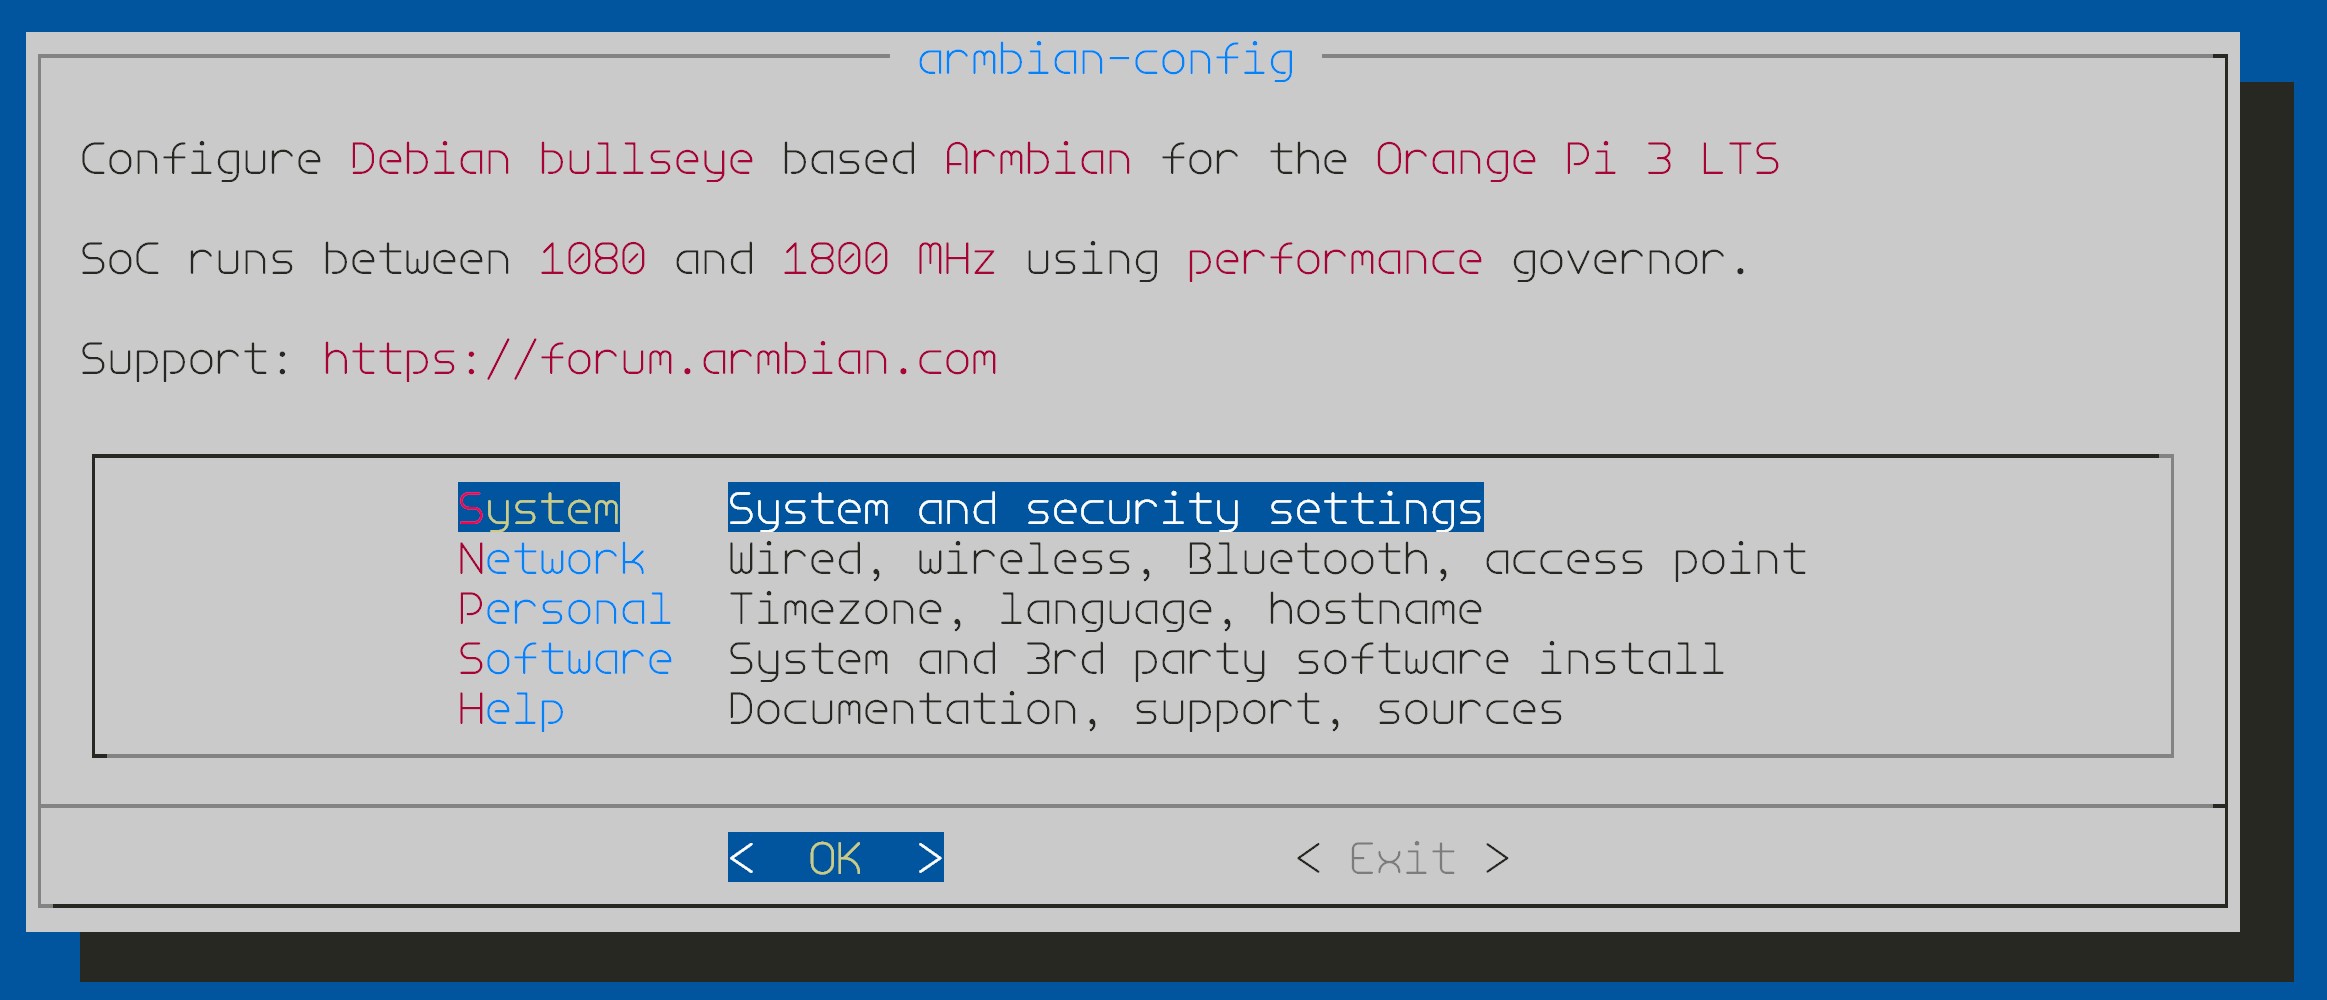
Start by going into armbian config.
sudo armbain-config
Then Select S for System

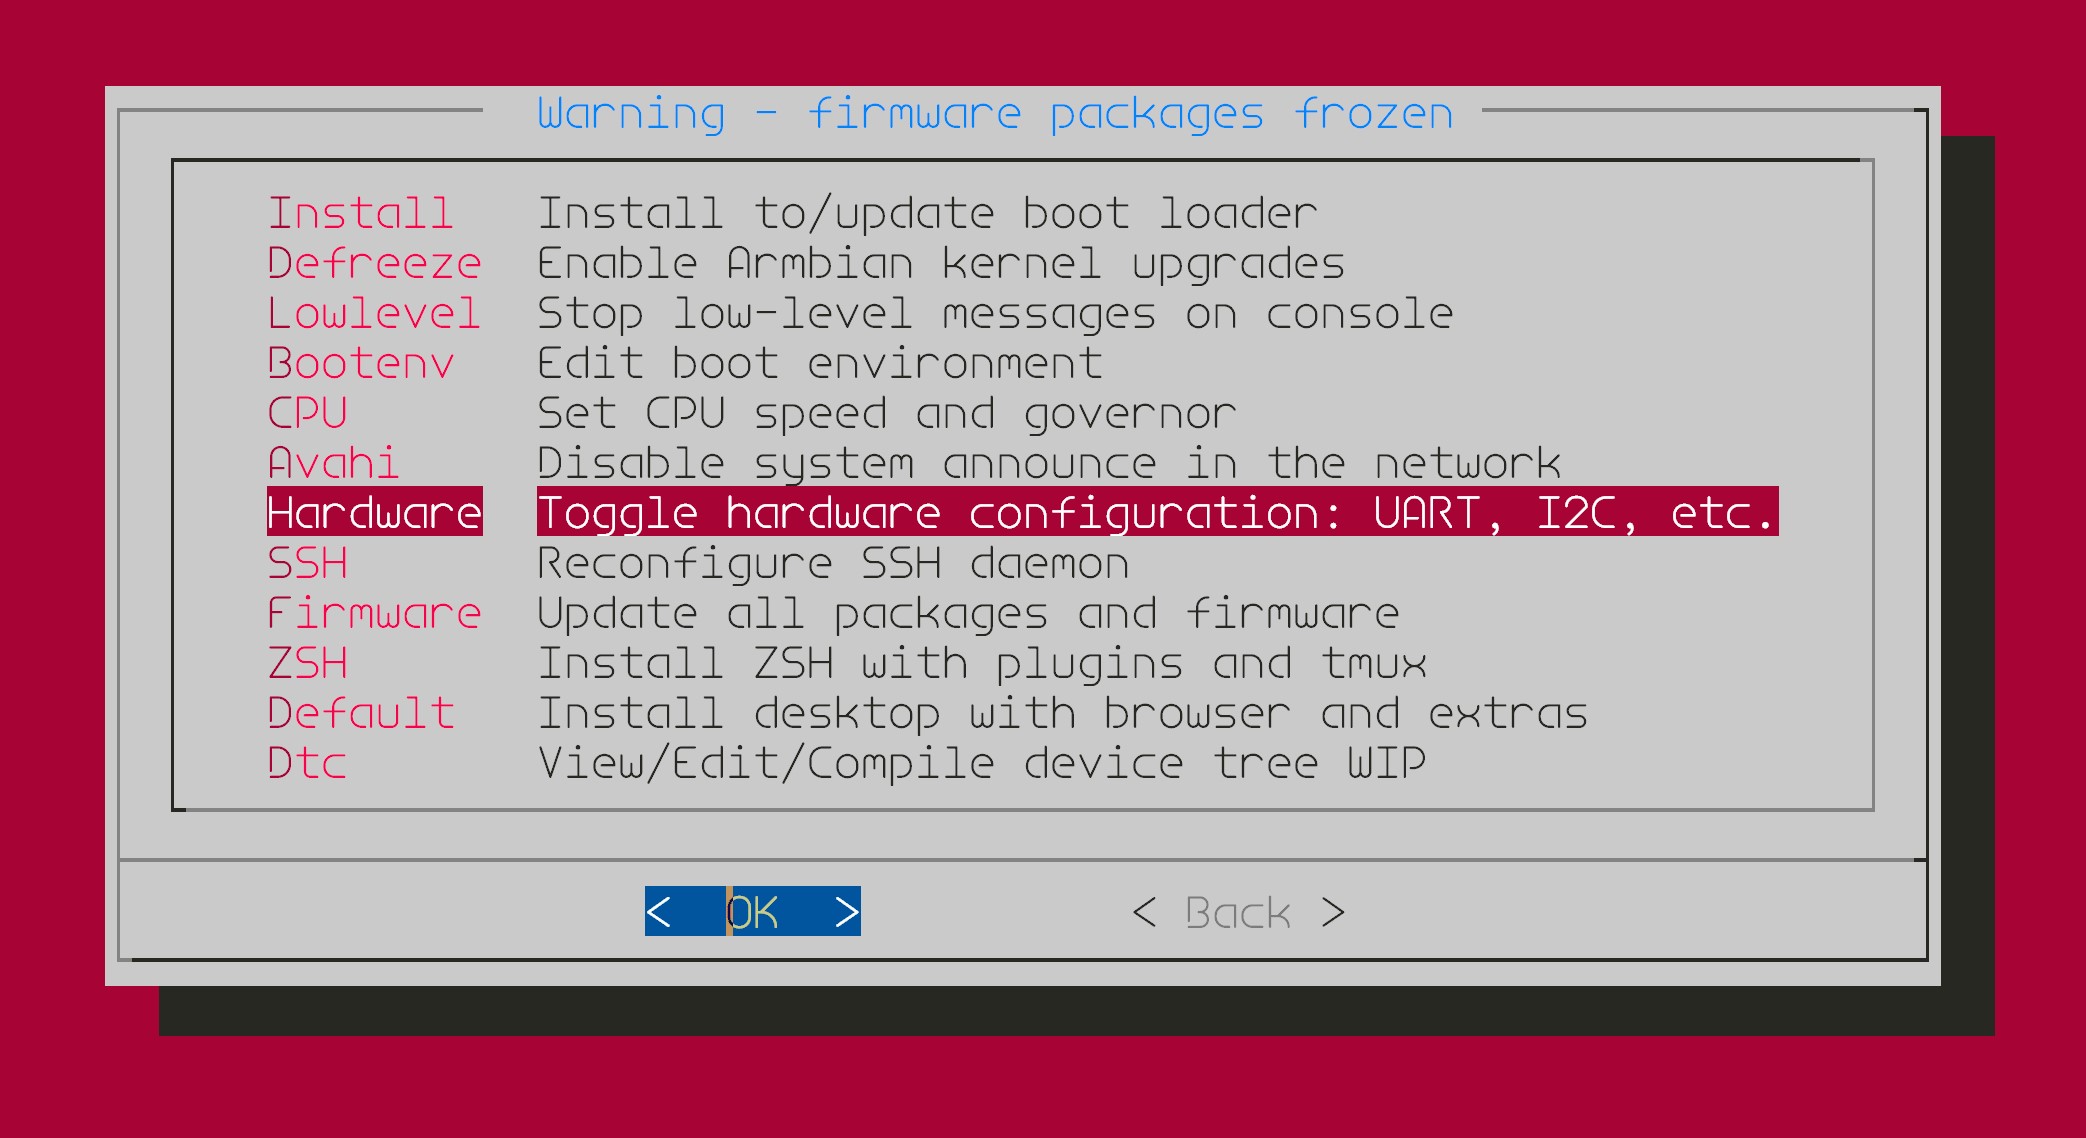
H for hardare in the menu.

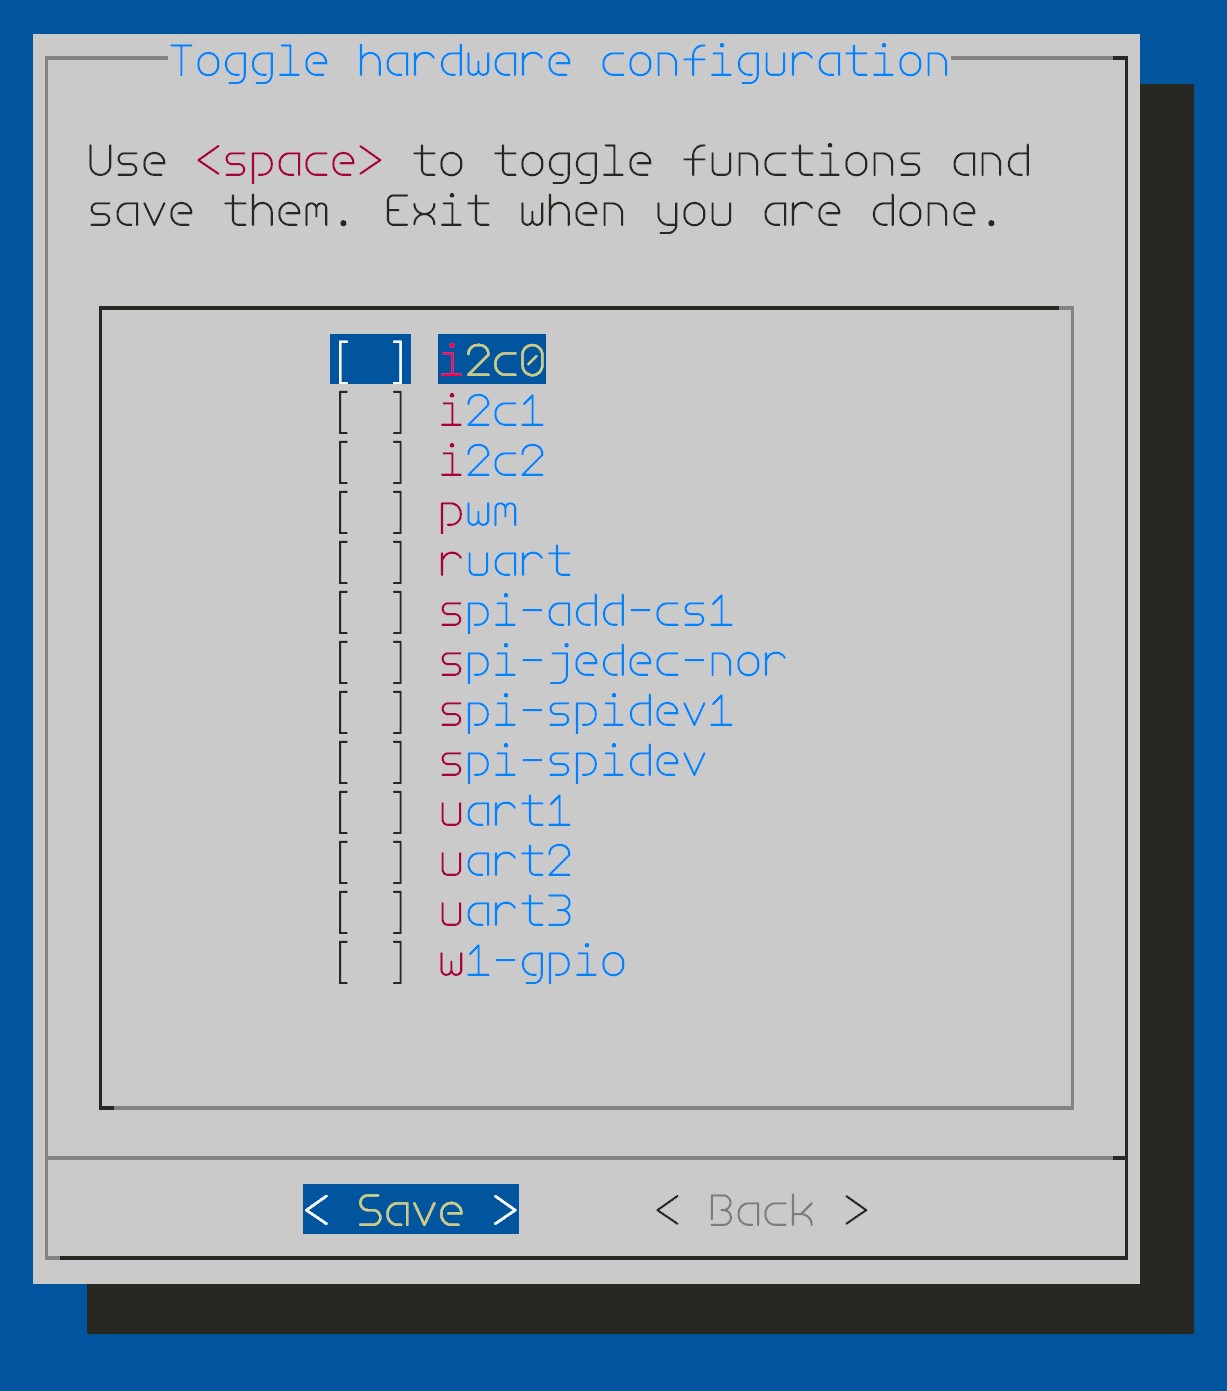
Then enable spi-spidev1
From the Toggle Hardware Configuration, enable spi-spidev1 (NOT SPI-DEV). For some reason the spi-spidev does not work but spidev1 does. I don’t know the difference between them but one works and one doesnt.

Once you have selected the version exit this menu. When it asks to reboot, reboot your OPI3-LTS.
Then log back into Armbian and edit the boot configuration (This is the part the setup script doesnt do)
sudo nano /boot/armbianEnv.txt
Add the following lines right after the line that reads: overlays=spi-spidev1
param_spidev_spi_bus=0
param_spidev_max_freq=488000
Save and reboot. If everything is working correctly you should see:
/dev/spidev1.0
If you don’t see this then something was not completed correctly above or the version you’re using doesnt match.
¶ Klipper Setup for OPI3 ADXL345
Getting Klipper to see the SPI interface was not the challenge as much as pointing the klipper config to the bus itself. You also need to make sure you’re following the klipper guide to install the host MCU. Otherwise /tmp/klipper_host_mcu will not appear.
¶ OPI MCU Install
The first step is really just following this part of the guide to install the service.
https://www.klipper3d.org/RPi_microcontroller.html
You’ll need to follow that and install the MCU Service. Once that is running proceed to the next step.
¶ Kliper Printer Configuration for OPI
Copy these lines into your printer.cfg and this should get Klipper to the ADXL345 on the SPI bus.
[mcu rpi]
serial: /tmp/klipper_host_mcu

[adxl345]
cs_pin: rpi:None
#spi_speed: 500000000
spi_speed: 488000
spi_bus:spidev1.0
If Klipper fails to start check the log. If the ADXL345 is wired correctly it should come right up. The log would indiciate the problem.
- MCU Connection Problems
This is almost always becaue you didnt setup the klipper service for the RPI - Can’t connect to the SPI Bus
This shouldnt happen, but if it does check thespi_bus:parameter above. You should see the same as a device in /dev. If it has a different name, use the name you see in /dev - Can’t find the accelerometer
100% This is the wronspi_busparameter, wired incorrectly or faulty sensor.